In the digital age, travel vlogs have become a powerful medium for telling these stories. Editing your travel vlogs is where the magic happens, transforming raw footage into captivating narratives that resonate with your audience.
At Travelfluencers, we understand that the essence of travel is more than just visiting new places—it’s about capturing the spirit of adventure and sharing it with the world.
In this guide, we’ll take you through the step-by-step process of editing travel vlogs, helping your content soar to new heights.
1. Organizing Your Footage: The First Step to a Smooth Editing Process
Before diving into the editing process, it’s crucial to start by organizing your footage. After a trip, you may have hours of video clips, photos, and audio files that need to be sorted. Creating a well-structured folder system on your computer will save you time and frustration during the editing phase.
Tips for Organizing Your Footage:
- Create Separate Folders: Divide your content into folders by day, location, or activity. This makes it easier to find specific clips later.
- Rename Files: Rename your files with descriptive titles (e.g., “Day1_MorningBeachWalk”) to quickly identify them during editing.
- Use Tags and Markers: If your editing software allows, use tags or markers to highlight key moments in your footage that you know you’ll want to include.
Why it matters: Organizing your footage not only speeds up the editing process but also ensures that you don’t overlook any important shots that could make your vlog stand out.
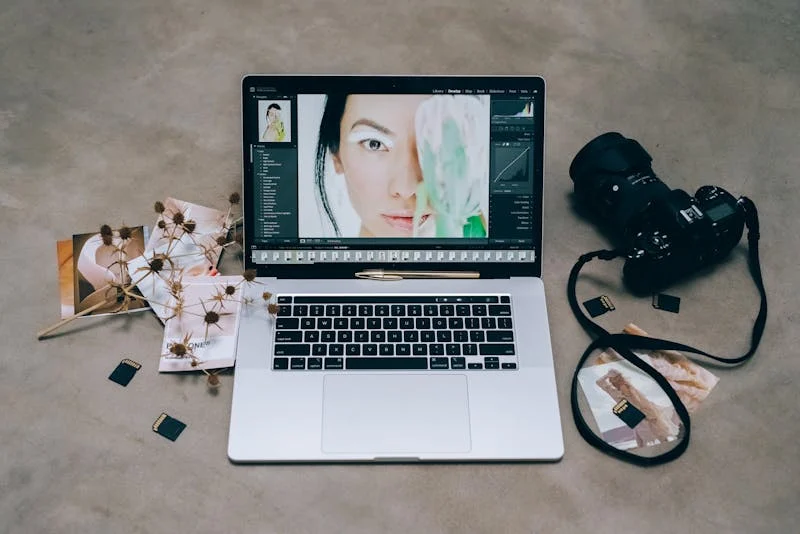
2. Choosing the Right Editing Software: Tools to Bring Your Vision to Life
Selecting the right editing software is a critical step in creating high-quality travel vlogs. The software you choose should align with your skill level, budget, and the complexity of your editing needs.
Top Editing Software Options:
- Adobe Premiere Pro: A professional-grade software with advanced editing tools, perfect for detailed and high-quality vlogs. Buy Adobe Premiere Pro
- Final Cut Pro X: Ideal for Mac users, this software offers powerful editing features and a user-friendly interface. Buy Final Cut Pro X
- DaVinci Resolve: Known for its robust color correction capabilities, DaVinci Resolve is a free option with advanced features. Download DaVinci Resolve
- iMovie: A great choice for beginners, iMovie provides basic editing tools on a simple interface, and it’s free on Mac devices. Download iMovie
Why it matters: The right software will allow you to execute your creative vision with the tools you need, whether you’re a beginner or a seasoned editor.
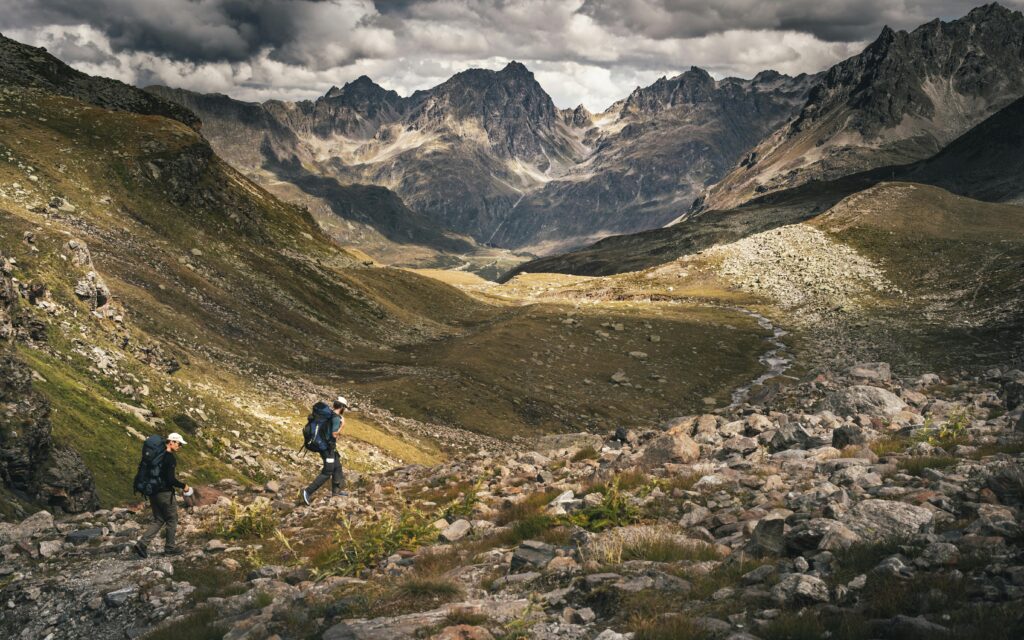
3. Crafting Your Story: Structure and Narrative in Travel Vlogs
Great travel vlogs are more than just a collection of beautiful clips—they tell a story. Whether it’s an adventurous hike, a cultural experience, or a culinary journey, your vlog should have a clear beginning, middle, and end.
How to Structure Your Vlog:
- Introduction: Start with an engaging introduction that sets the tone for the vlog. Introduce the location, highlight what’s unique about it, and give your viewers a reason to keep watching.
- Build-Up: Show the progression of your journey. Use a mix of wide-angle shots to establish the setting and close-ups for details. Keep the narrative flowing by connecting each segment logically.
- Climax: This is the highlight of your vlog—the most exciting or impactful moment. Whether it’s reaching a summit or trying a local delicacy, make sure this part of your vlog stands out.
- Conclusion: Wrap up your vlog by summarizing your experience and inviting your viewers to engage, whether it’s by commenting, subscribing, or following your social media.
Why it matters: A well-structured vlog keeps viewers engaged from start to finish and leaves a lasting impression.
4. Mastering Transitions and Effects: Adding Professional Touches
When it comes to knowing how to edit travel vlogs, transitions and effects are important, making your vlogs more dynamic and visually appealing. However, they should be used sparingly to avoid overwhelming your viewers.
Essential Transition and Effect Techniques:
- Cross Dissolve: A simple and effective transition that can be used between clips to create a smooth flow.
- Cutaways: Insert cutaway shots to add context or break up longer scenes. These can include scenery, locals, or close-ups of objects.
- Slow Motion: Use slow-motion effects to emphasize dramatic moments, such as a waterfall or an action sequence.
- Time-Lapses: Create a time-lapse to show the passage of time, such as a sunset or cityscape. This adds a cinematic feel to your vlog.
Why it matters: Proper use of transitions and effects can elevate the quality of your vlog, making it more engaging and professional.
5. Incorporating Music and Sound Effects: Setting the Mood
Music and sound effects are powerful tools that can set the mood and enhance the emotional impact of your vlog. Choose tracks that complement the atmosphere of your footage, whether it’s upbeat, relaxing, or adventurous.
Tips for Adding Music and Sound:
- Select Royalty-Free Music: Use music that you have the right to use, such as tracks from YouTube’s Audio Library or Epidemic Sound. Explore Epidemic Sound
- Match the Pace: Ensure the music matches the pace of your editing. For example, fast-paced music works well with quick cuts, while slower music suits longer, more relaxed scenes.
- Use Ambient Sound: Don’t forget to include ambient sounds from your footage, such as waves crashing, birds chirping, or street noise. This adds authenticity and immersion to your vlog.
Why it matters: The right music and sound effects can turn a good vlog into a great one by enhancing the viewer’s emotional connection to the content.
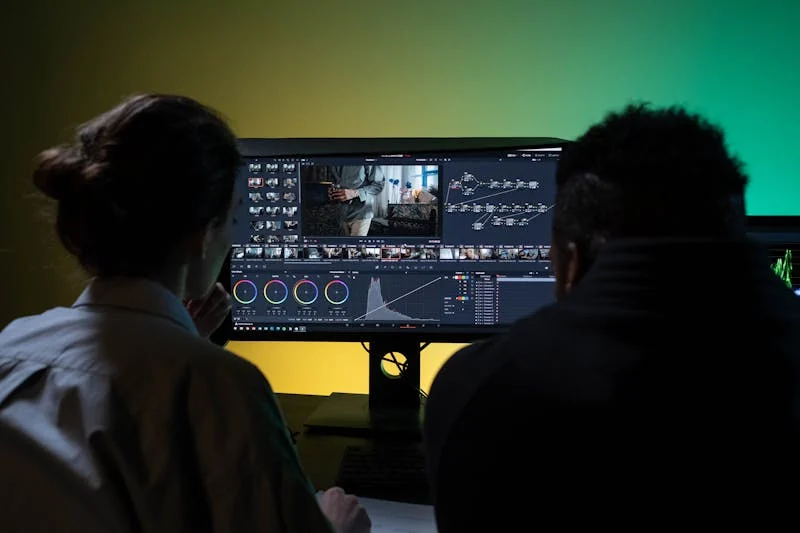
6. Color Grading: Making Your Footage Pop
Color grading is the process of adjusting the colors in your footage to create a specific mood or style. This step can make your travel vlog look more polished and visually appealing.
Basics of Color Grading:
- Correct Exposure: Ensure your clips are properly exposed before you start grading. Adjust brightness and contrast to achieve the desired look.
- Enhance Colors: Use color grading to enhance the natural beauty of your footage. For example, you can make the blues of the ocean more vibrant or the greens of a forest more lush.
- Maintain Consistency: Keep your color grading consistent throughout your vlog to maintain a cohesive look and feel.
Why it matters: Consistent and professional color grading can set your vlog apart, making it visually stunning and memorable.
Conclusion: Elevate Your Travel Vlogs with Professional Editing Techniques
At Travelfluencers, we’re committed to helping you create travel content that not only captures your travel adventures but also elevates your brand. Editing is where your creative vision comes to life, transforming raw footage into a compelling narrative that resonates with your audience.
By following the steps outlined in this guide—organizing your footage, choosing the right software, crafting your story, and mastering transitions, music, and color grading—you’ll be well on your way to creating professional-quality travel vlogs.
Remember, great travel vlogs are a blend of technical skill and storytelling. With the right editing techniques and tools, you can produce content that not only showcases the beauty of your travels but also engages and inspires your audience.
So, get ready to edit your way to success and let your travel vlogs take off with Travelfluencers!